Brown rice is a great source of carbohydrates packed with all the vitamins, minerals and other essential nutrients washed away when milling white rice. This leaves your whole brown rice with all its oil and nutty flavor.
If you are not a fan of brown rice, then white rice sucks! The same process that gives you white rice takes out the some of the essential nutrients from it! Well, there is a great alternative for brown rice if you don’t like it.
You may want parboiled rice instead. How to cook parboiled rice? Well, let’s find out soon!
What Is Parboiled Rice?
You may have heard about converted rice. Parboiled rice and converted rice is the same thing. Rice paddy undergoes a special process to preserve the nutrients from the bran, germ, and husk by forcing them to enter the grain.

The process is called parboiling or partial boiling. Wole rice paddies are soaked in water, steamed, dried, and then milled. This results to a glassy brownish rice. Converted rice often has shorter cooking time and is chewier than regular milled white rice. This makes them an even more convenient choice!
How to Cook Parboiled Rice
Now, let’s answer that question! Rice, in general, is cooked in pretty much the same way. They just sometimes vary in the ratio of water and the length of time to cook. You can easily adjust the texture of your rice to your liking by adding more or limiting water.
There are three popular ways to cook parboiled rice. You can cook it on your stovetop, a steamer or a rice cooker. Depending on what is available in your kitchen, you can freely choose to go whichever method is convenient to you! It’s not that hard!
The Saucepan Method
If you don’t have a steamer or a rice cooker at home, cooking parboiled rice in a saucepan is your best choice. I’m sure you got a saucepan at home! C’mon, let’s do this!

Via asiadish.com
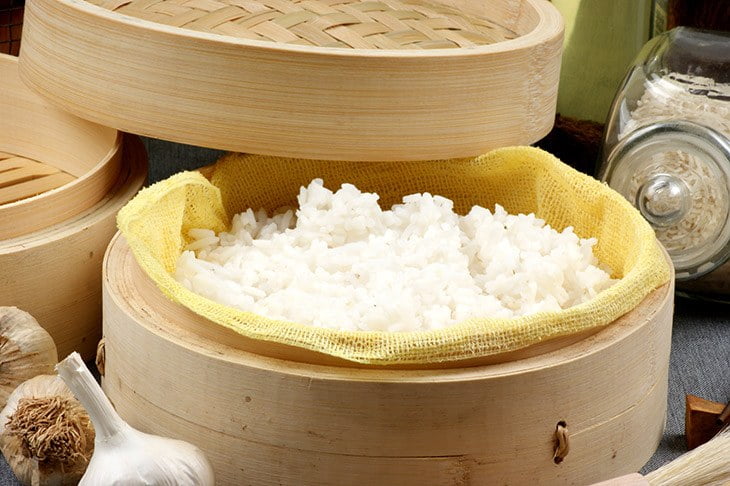
The Steamer Method
Using an electronic steamer, you can also cook a hearty steamed parboiled rice.
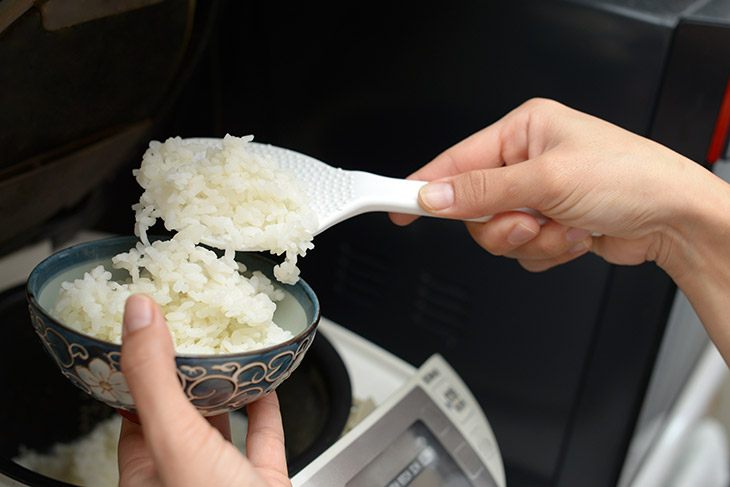
The Rice Cooker Method
The easiest method is using a rice cooker. Well, a rice cooker was specifically designed for this purpose! If you love rice and cook it often at home, having a rice cooker will give you convenience!
Final Words
Rice is a good source of carbohydrates. Brown rice has the same contents but has the bran and germ intact which is packed with vitamins and minerals! But not everyone is a fan of bran rice. You may want to try parboiled rice if you don’t like the flavor of brown rice!
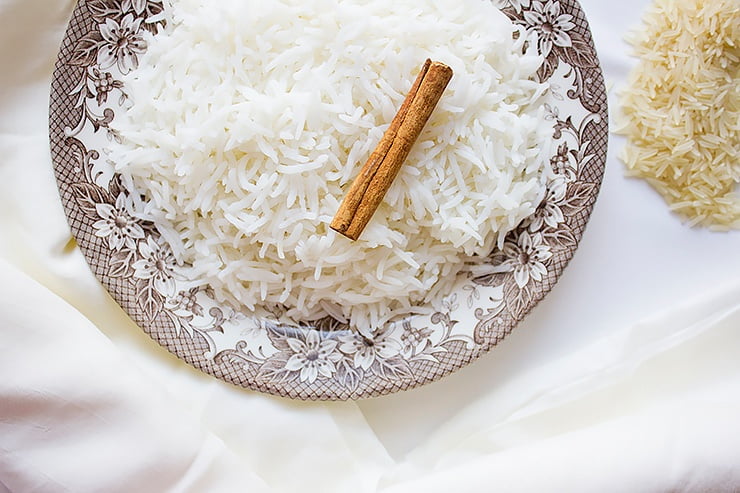
Serve it hot for dinner and your family and friends will surely enjoy it! Stir fry and barbecue are awesome with it!I hope I have answered how to cook parboiled rice clearly and help you make that perfect fluffy rice! Had fun reading this post? Share this to your friends! Don’t hesitate!
If you want to clear something out, or if you have questions, leave a comment below, and I will get back to you as soon as I can!