Baked Beans are a necessity at my house. I cook them at least once a week, and then for any family events we attend or host. Baked Beans are a highly requested item in my household. Whether we’re grilling, baking, or slow-cooking we’ll have baked beans as a side dish. My family loves baked beans, and even I think that is an understatement!
I wanted to know if I could freeze baked beans for weeknight meals and future events, to cut back on time. I always make my baked beans, so the process takes a little longer than just heating up canned beans.
What I did come to find out was that I could freeze baked beans, and they suggest that you use fresh baked beans, rather than canned ones. I was in luck, so I’m going to show my process in just five easy steps!
Items to Grab
You will need a couple of things for this process, but nothing you need to buy. All the products I suggest are things you should have at your house. I didn’t have to buy anything, just made my beans and froze them.
Baked Beans
While fresh baked beans are best for freezing, you can use the canned variety. You just need your favorite baked beans. I prefer to cook mine from scratch. I think they have better flavor, better ingredients, and I control what my family is eating.
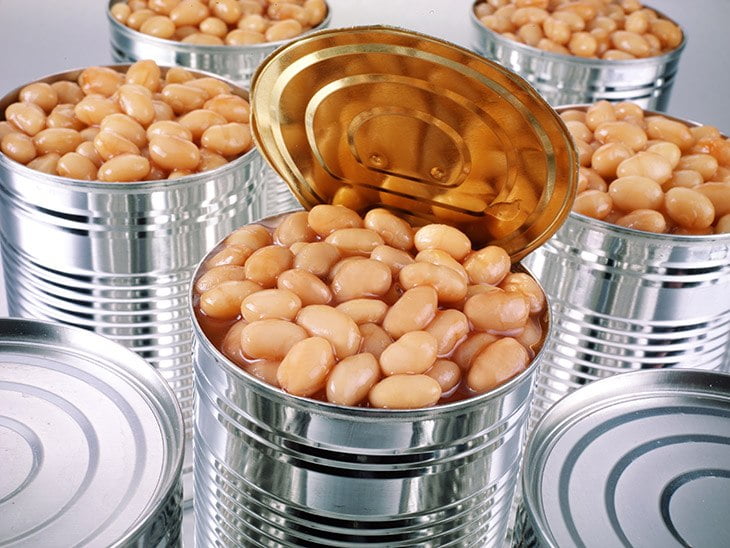
If you are choosing canned beans, they may be mushier after two months of freezing. The structure and composition of the beans change over time due to the ingredients, so canned beans need to be eaten sooner.
Either way, you choose, make sure they are cooked and ready to go for the freezing process.
Spatula or Ladle
Use a spatula or ladle to get the beans out of the pot and into the container. If you want to tip your pan and scrape the beans out, rather than ladling the beans out, feel free to do that.
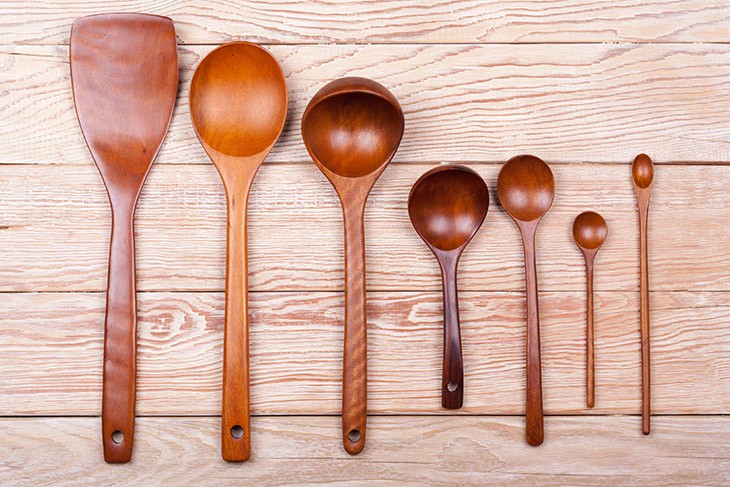
I always tend to use a spatula and tip the pot over. I find that this method gets me more sauce and makes for an easier cleanup. I also find that I have less of a mess and it’s an easier process than scooping repeatedly.
Container
An airtight container will work best for this, but I’ve seen some people use plastic Ziploc bags and even vac-u-seal them. I just use a plastic container with a tight lid and sometimes I will use a bowl and cover it tightly with plastic wrap.
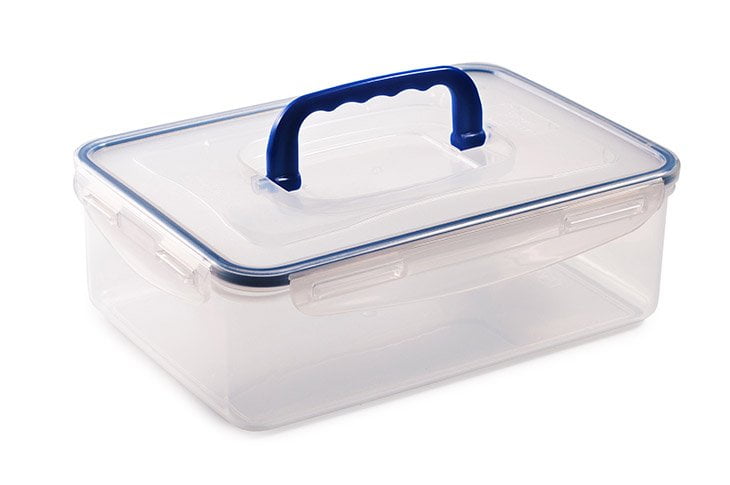
I have different sizes of plastic containers depending on how many beans I made if they’re for different weeknights, and if they’re for an event, my family is asked to attend.
Tape
You’ll just need a strip of masking tape for each container you use. It’ll just be placed in the container as a base for you to write on with your marker to provide information about your baked beans.

Permanent Marker
The permanent marker is to record the day you made the beans and to mark them for expiration. Writing the date is an excellent method to do for freezer goods that way you can keep track of your food and what is still good and isn’t.

You’ll be writing relevant information so make sure the ink doesn’t smear, and the marker works well, you don’t want to have any issues later when trying to read your labels.
Freeze Your Beans
Freezing your baked beans is a simple process that doesn’t take up too much of your time, and will provide you with easy to reheat food for weeknight dinners!
Step 1: Get Your Beans
If you used canned beans, you just need to heat them up and cook them to the proper temperature until they are finished.
If you made homemade beans like I prefer to do, then make sure any meat is cooked to the correct temperature, the beans should be al dente, and all the flavoring should be added. Cook until they’re done, then remove them from the heat. Set aside.
Step 2: Cool Your Beans
There are a few steps you can take to cool your hot beans. You can either allow them to cool in the pot on your counter-top, they could cool in an ice bath, or they can chill by an ice pack.
If you are allowing your pan to cool to room temperature by the counter-top, just let the beans to rest and stir every 5-10 minutes until fully cooled.
If using the ice bath method, fill a large bowl with ice and place the pot in the middle of the bowl. Allow to cool to room temperature, but stir every 10 minutes to keep the cooling even.
Finally, if you use the ice pack method, fill three small Ziploc baggies with ice cubes. Place the baggies into your beans in three locations. I lay two on the edges and one in the center, depending on the size of the pot, and allow the beans to cool to room temperature.
Step 3: Store Beans
Once your beans have cool to room temperature, you are not ready to put them into your container. I just use cheap, plastic containers with locking lids to keep out air or moisture.
There are many different containers you could choose from, as long as they are freezer-safe and can reheat the beans in the container whether by microwave or if you thaw the beans first you can remove them from the container they are in.
Once the beans are in the container, close the lid and move to the next step!
Step 4: Write on Beans and Store
If you are using a plastic baggie, you can just write on the bag the date and time the beans were made. If you are choosing a container, place a piece of masking tape over the top and then write the date and time on it.
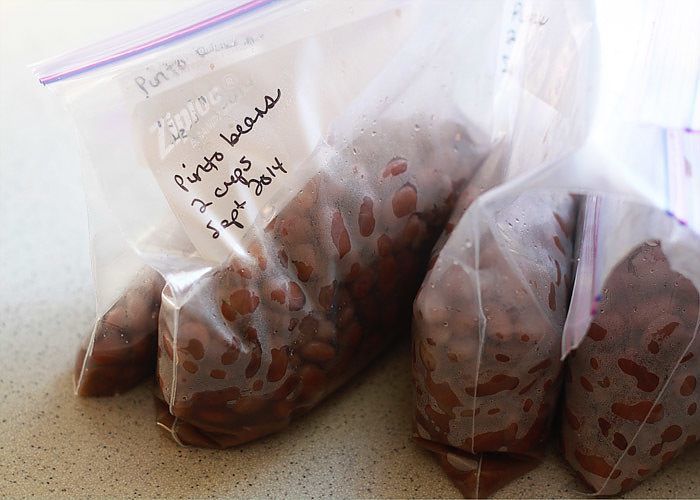
The length of times that beans are good for in the freezer can vary. Some people say you can keep beans up to 3 months, while others suggest six months. If there is bacon in your baked beans, I will recommend three months, since that’s as long as bacon should be frozen for.
If there is no meat in your beans, they will last up to 6 months in the freezer without being disturbed, so without being reheated or opened.
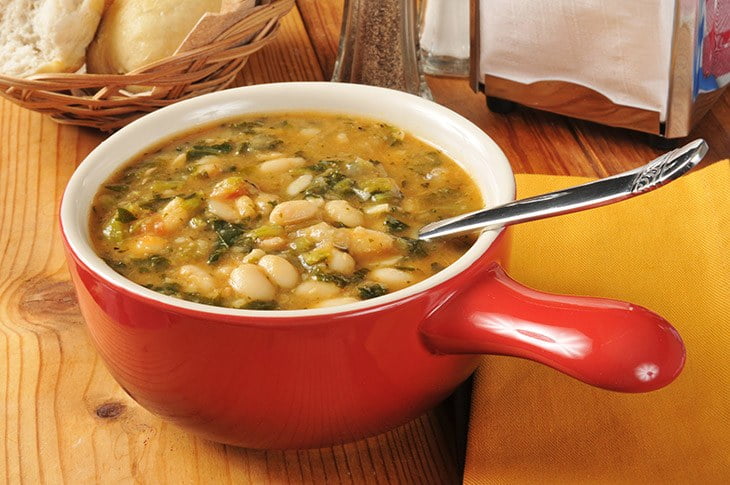
Step 5: Reheating Beans
When you are ready to warm your beans, you can do so in three ways: in the microwave, the oven, or on the stove. When you are reheating food, make sure that the internal temperature of the beans reaches at least 140℉. This is a safety protocol to ensure any bacteria that has grown is killed and does not contaminate your food!
Prepare Beans in Advance
Knowing that I can freeze my baked beans in advance helps me out with saving time to be with my family more. I’m not in the kitchen cooking baked beans all day, but rather I can simply take the beans from the freezer and quickly prepare them any way I choose.
The best part of this is I was able to share this information with you. I hope you make your beans if you don’t already, and I hope this helps simplify your weeknight meals. I know you have work to work or handle any family business, so if I was able to help you just a little, I’m glad!
What foods have you found that freeze well ahead of time? Do you freeze your weeknight meals ahead of time? What are some foods you still have concerns about freezing?