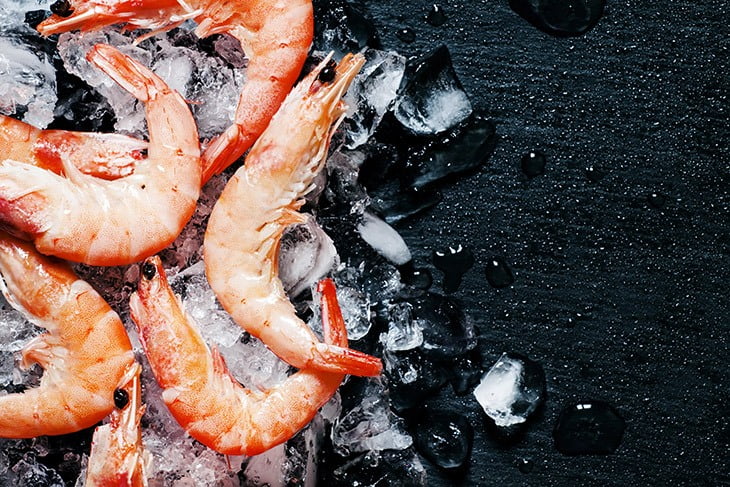
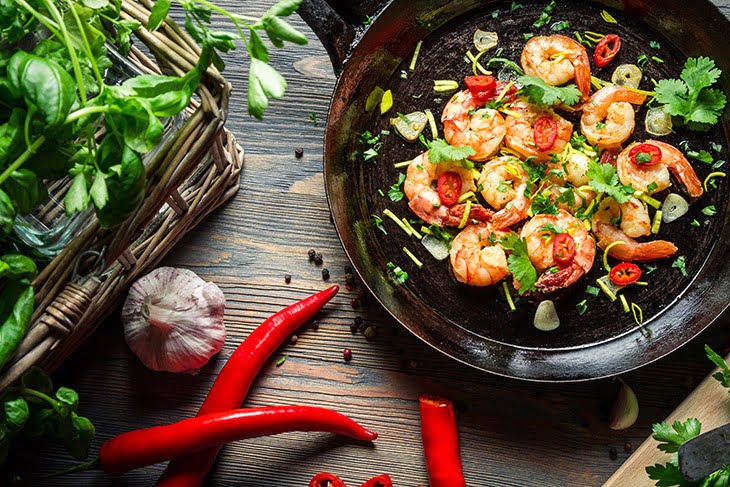
If you are like me, which you probably are, you love shrimp! So, when I make shrimp, it’s no surprise that I always have leftovers. I stick the shrimp in a Tupperware container and stick it in the fridge for later.
Why is my shrimp is always rubbery after I reheat it? How do I reheat shrimp properly? Is there some magic that makes shrimp reheat well?
That’s a common problem to have, and there are a few things you can do to make sure you’re reheating properly, and there’s no magic involved. I promise. I will help you learn how to reheat shrimp, and you’ll never have to worry about rubber shrimp or correct temperatures again.
Making This Work
Heating shrimp without making it rubbery, there are a few items you will need depending on the type of shrimp you have and the method you are using. I have the top 3 ways to reheat shrimp, all you have to decide on is your preferred choice!
#1. Cooking in the Oven
The oven is the most common way to warm breaded shrimp. The oven method keeps the breading crispy and gives the shrimp a slow heating time. Cooking the shrimp gently as it rises in temperature, provides time for the shrimp to plump back up and the breading to crisp and become golden colored but not burn.
Ingredients
If you are reheating your fried shrimp, you will need:
Baking Sheet
The baking sheet you use doesn’t have to be anything fancy; just a simple medium sized baking sheet to hold the shrimp.

Via food.com
The ideal baking sheets are usually non-stick, Teflon™ style pans. These pans produce an evenly heated surface and allow the food on them to cook evenly.
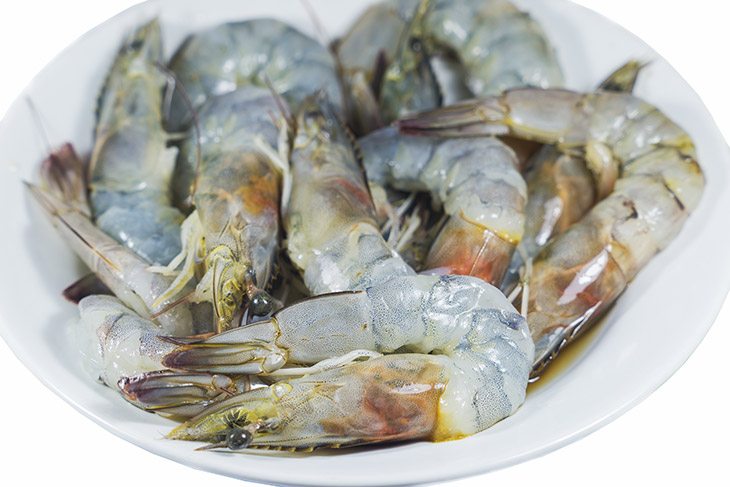
Cooked Fried Shrimp
This fried shrimp should be breaded and be prepared previously and should not be refrigerated for more than 24 hours.
Aluminum Foil
Aluminum foil is what will protect the shrimp from overcooking on the outside. The aluminum provides a reflective surface that keeps food from browning quicker than the product cooks.
It’s also good for keeping edges of pies from burning before the inside is finished cooking. Aluminum foil is a great product to use in the kitchen. Even after it’s been heated up in the oven, you can still touch it without risking any burning to yourself.
Step By Step
This method provides you with crispy shrimp that comes out golden brown and delicious! Cooking fried shrimp in the oven makes it, so the breading stays crispy and the shrimp can be heated gently at a slow temperature.
I love the crispiness of breaded food when it’s reheated in the oven. Shrimp is no exception. The breading gets crispy and golden, the shrimp plumps back up and absorb the cooking juices.
You can even add butter or a seasoning to the shrimp in the aluminum packet if you wanted to change the flavor of the shrimp.
Reheating fried shrimp in the oven will be just like ordering them fresh from your favorite restaurant. Here’s how to do it:
- You need to preheat the oven to 300˚F
- Lay out a large piece of aluminum foil over the baking sheet. Place the shrimp in a single layer on top of the aluminum.
- Gently cover them with the remaining aluminum, keeping them in a single layer.
- Bake for 15 minutes, checking the shrimp halfway through. If the shrimp are not crispy, create a vent in the foil for the steam to escape.
- Serve immediately.
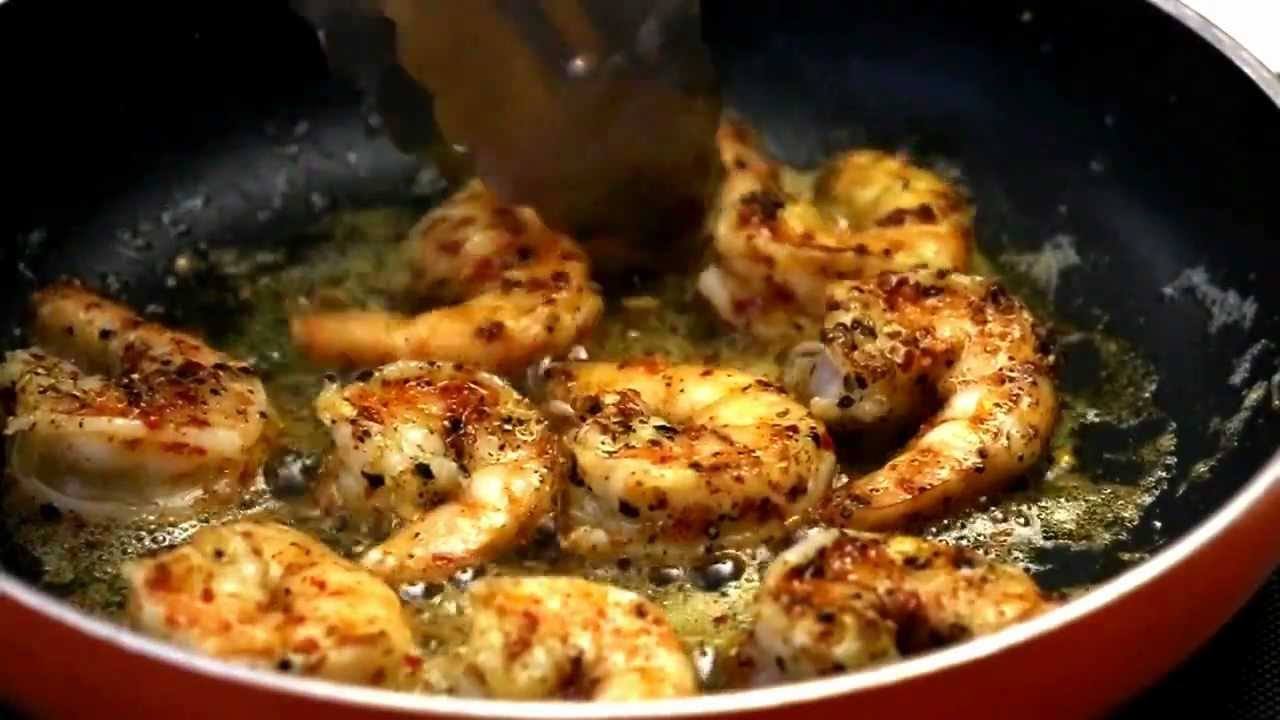
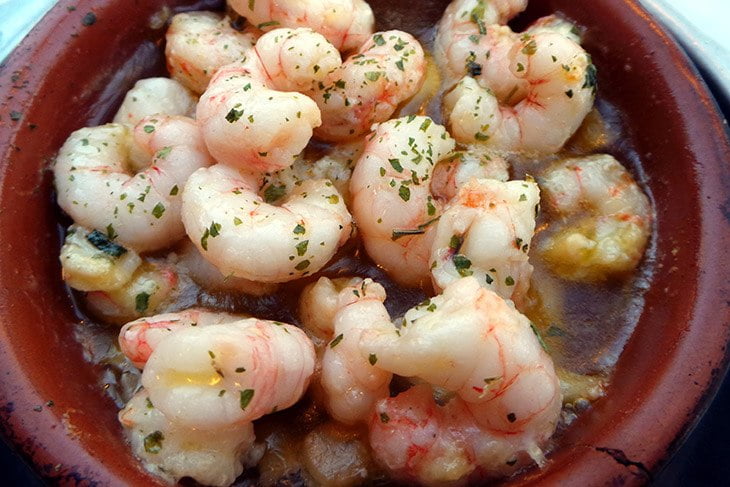
#2. Sauteing it Up
Sauteing shrimp is a common way to handle non-breaded shrimp. Sauteing allows moisture to seep into the shrimp and provide it with juices.
The shrimp absorbs the cooking liquid and flavor, and plumps back up. It turns golden brown after a short time cooking in liquid and is ready to be eaten in no time at all.
Ingredients
For the saute method, you’re going to need:
Saute Pan
A good, sturdy stainless-steel pan will do well for this. You’ll need a size dependent upon the amount of shrimp you will be cooking. The shrimp will need to lay side by side and should not be stacked up.
Make sure the pan you are using allows for the shrimp to be in a single layer and can hold oil or fat in it as well.
Fat or Oil
For the fat or oil element, you can use olive oil, butter, a flavored oil (such as garlic-infused oil, or a hot pepper oil depending on your taste), or a regular vegetable oil.
The fat you use is up to you, and even if all you have is vegan butter sitting in your fridge that you still want to try, use it. Any fats work just fine for this, and any flavor you want to add to the shrimp is done through the fat or oil added.
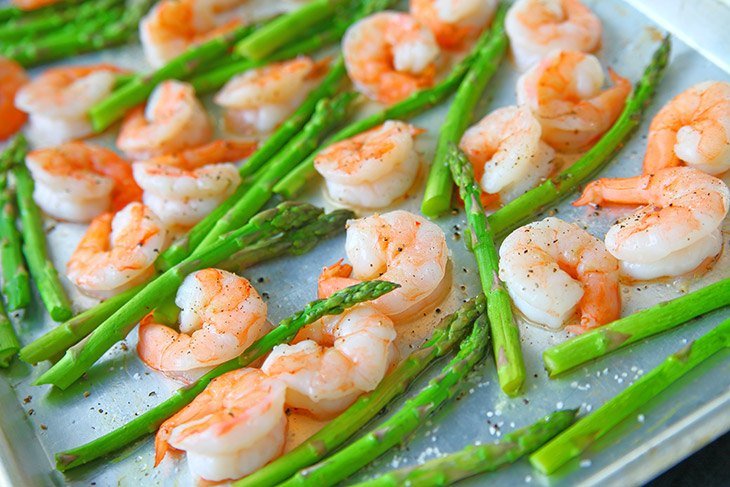
Cooked Shrimp
For this, you will want previously cooked sauteed or steamed shrimp. You can also use a breaded shrimp, but I recommend the oven method to prevent soggy breading from the oils.This shrimp should not be refrigerated for more than 24 hours.
Step By Step
I love sauteing pre-cooked shrimp. When I do this, I find that I can change the flavor of my shrimp and give it an added texture. With the oil used, you can even create a delicious pan sauce to go with the shrimp.
After you finish cooking the shrimp, deglaze the pan with balsamic vinegar. It’ll create a fantastic tasting sauce that will pair perfectly with your reheated shrimp. The full richness of the balsamic layered over the shrimp creates a whole new dish.Here’s how to do it:
- Heat the saute pan over medium heat.
- When the pan is hot, add in your desired fat or oil and continue to heat, coating the bottom of the pan.
- Be careful when heating oil, hot oil can pop out of the pan and splash you. If this happens, run the area under cold water for 1 minute, then apply burn cream and a band-aid.
- Once the oil or fat is fragrant, add the shrimp in a single layer.
- This process doesn’t take long! You want to caramelize the shrimp. They are ready when both sides are a beautiful golden brown.
- Serve immediately.
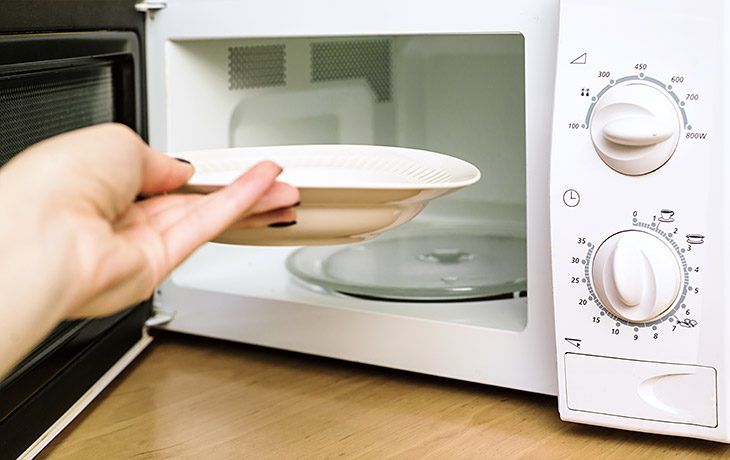
#3. Using the Microwave
Microwaving shrimp is a time-saving method, that when done correctly will cook the shrimp thoroughly without overcooking and making rubbery shrimp. The secret is to cook it gently, don’t be too hard on pre-cooked shrimp.
Ingredients
If you want to microwave your shrimp, you’ll need:
Cooked Shrimp
For this method, you can use any previously cooked shrimp you like. You can use fried shrimp, sauteed shrimp, steamed shrimp, and even boiled shrimp. The shrimp should not be more than 24 hours old.
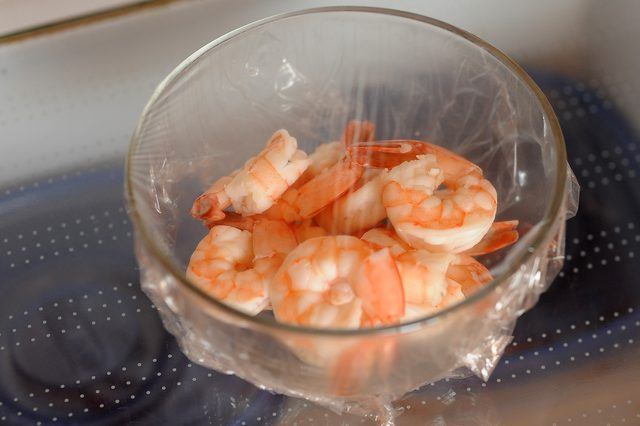
Microwave-Safe Dish
This dish should be large enough to spread the shrimp out in a single layer. You do not want the shrimp to be stacked up.
This dish should also be able to be placed in the microwave and should have a lid or can use plastic wrap. I find stoneware square baking dishes are my favorite to do this step in.
Plastic Wrap
Everyone has plastic wrap. It’s that thing you pick up at the store because you might need it for something. Right?Plastic wrap will cover the shrimp and produce a steaming effect. Cooking the shrimp slowly and gently, rather than overcooking the shrimp.
Via livestrong.com
Step By Step
Using the microwave is the easiest method to do. It takes more caution since you could heat the shrimp too long without checking, and then it’ll be overcooked. Here’s the best way to microwave your shrimp:
- Place the cold shrimp in a microwave-safe dish in a single layer. It’s important for the shrimp to be cold at this point.
- Cover the dish with a lid or plastic wrap.
- Place in the microwave.
- Cook the shrimp on high in 1-minute intervals. Check the shrimp after each minute. They are ready when they are heated the whole way through. You don’t want to overcook them.
- Remove from microwave carefully; the dish may be hot to touch. Discard plastic wrap.
- Allow the shrimp to cool before eating.
Serving It Up
Reheating your leftover shrimp doesn’t have to be scary or daunting. It’s an easy process to ensure that you don’t end up with rubbery, flavorless shrimp.
Shrimp is usually translucent when raw and pink when fully cooked. Make sure to ensure the shrimp has been cooked thoroughly the first time, so you don’t end up sick.
Shrimp can be reheated in the oven, on the stove-top and even in the microwave. It’s your choice, and you’ll get excellent tasting shrimp each time if you follow the instructions. You can also find some amazing advice and learn more about cooking by visiting our friends at CulinaryLabSchool
Be adventurous in your cooking and always take creative liberties. Vinaigrettes, citrus, and pasta all go great with seafood if you want to create a full course. Use your creative side to make something unique for you.