Imagine a crispy wafer sheet smeared with flavored cremes and some soft or molten candy. Makes you mouth water! Your perfectly chewy homemade candy fillings will surely be tasty in wafer sheets.
Store bought wafer are good. They are thin, crispy, and neutral. But why buy them, if you can make a much, much better wafer?
Aren’t wafer sheets hard to make? How do you make wafer sheets? Isn’t it time-consuming? Isn’t it costly?
Wafer sheets take no time at all and are so unbelievably easy to bake up and store, that you can make them in advance! They will save you money from buying them! With these great advantages, you have no reason not to make them so, let’s learn how to make them!
What to Look Forward to
Wafer sheets are delicious. Period. The desserts you can create with them are beyond amazing.You can choose any shapes or flavors you want. These wafers tend to be neutral in flavor unless you want to flavor them.
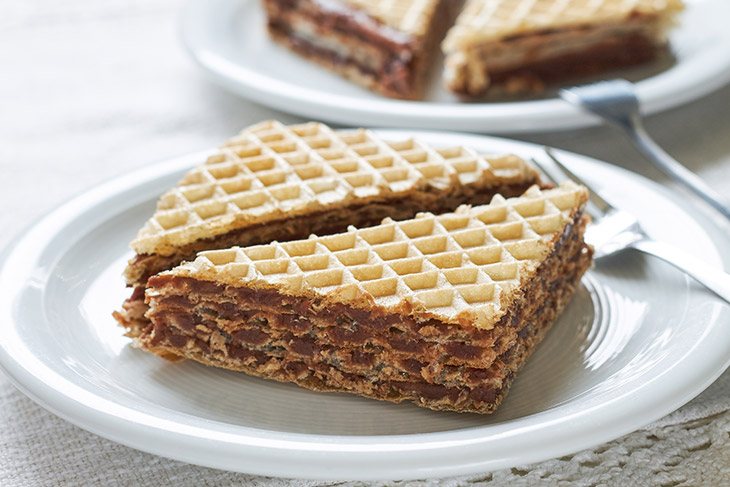
You can cut them in cake forms to make a stacked cake design. Or you can make them round and put them into sandwich cookie form with a filling of your choice. You can smear them with peanut butter, caramel, and even fruits! If you are avoiding milk, you can top your wafer some vegan chocolates too!
These wafers are versatile, and you can make practically anything out of them. You can leave them whole in sheets and cut after the dessert is made, or pre-cut them for single servings.
Items You Will Need
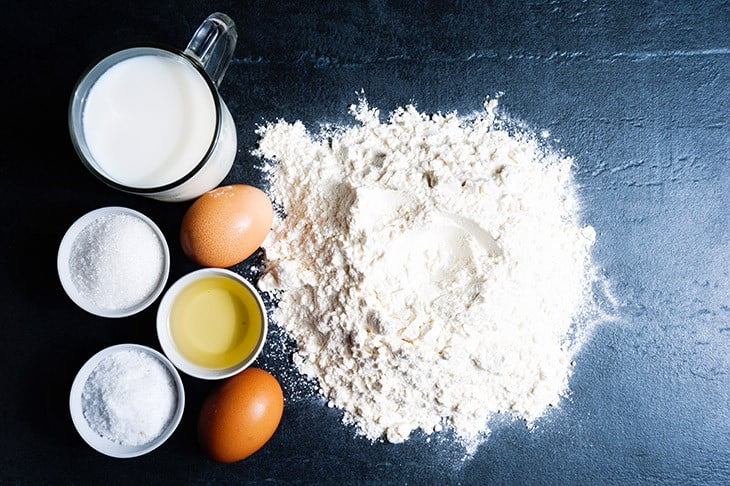
There is nothing fancy you need to make vanilla wafer sheets. Simple products you can probably find in your pantry and fridge at home!
You can make these to fit your families’ needs as well. If you are vegan, gluten-free, sugar-free, or have an allergy, just substitute the products that you need to! This recipe is very versatile and easy to change!
Butter
Butter is just one of the items that give baked goods their body. It is a fat, that is used for creaming together with sugar and eggs.
Butter adds flavor, texture, and a smooth richness to baked goods. You usually want butter at room temperature when making baked goods, so it’s easier to cream and has a soft consistency.
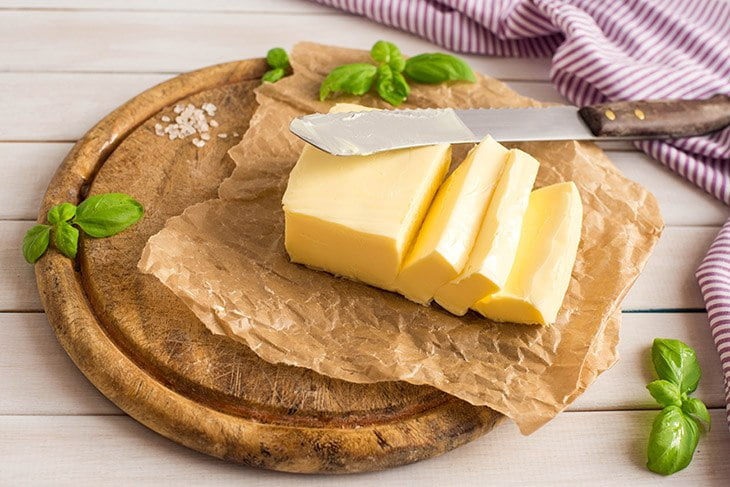
You can use margarine for this recipe. If you are vegan and need a substitute, you can always use a vegan butter of your choice.
Butter in wafers gives them a yellow appearance, crisp texture, and a rich flavor. Butter helps the wafer to have a crispy texture that is light and airy. It helps the leavening agents work in the dough by trapping air bubbles during the creaming method; this gives the airy lightness to the wafers after they are baked.
Sugar
Sugar is a sweetener that also adds body to the baked good. It gives baked goods their sweet taste and their browned tops. When it’s added together with the liquid, it allows moisture to be locked in, keeping baked goods moist.
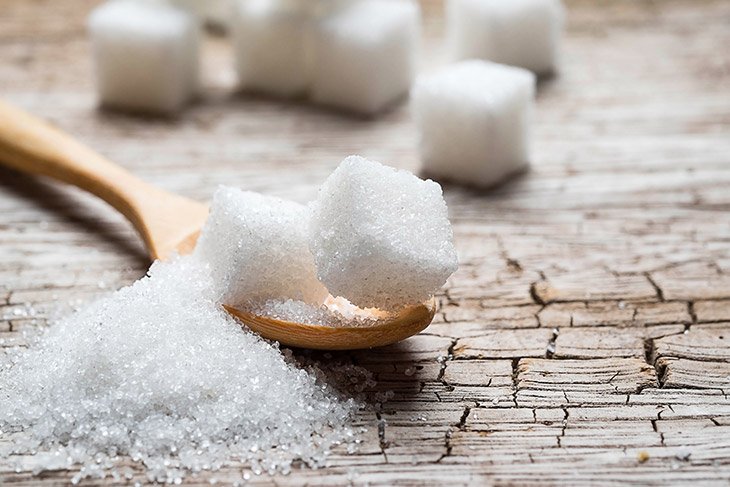
The sugar in wafers gives the slight sweetness and yellow color to the outside appearance. It makes the wafer crisp and delicate when baked correctly. Sugar browns the top of baked goods, the sugar caramelizes inside of the dough, giving the baked goods its caramel, golden brown tops.
Eggs
Eggs are more than just nutrition for your body. They are also a leavening agent that adds richness and color to baked goods. The height and texture of your baked goods are determined by your ratio of eggs to flour.
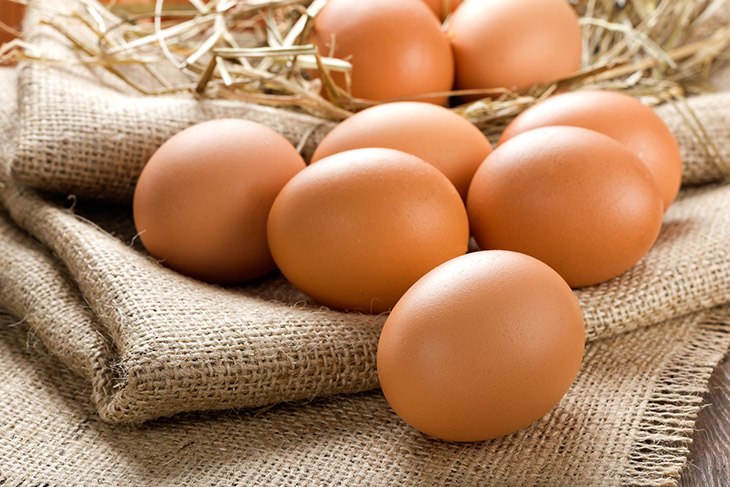
Eggs in this wafer add color, a thin, crisp texture and height, and rich taste. The wafers are thin and delicate, as they should be. If you are vegan. You can use an egg substitute for this ingredient.
Pure Vanilla Extract
Pure vanilla extract is something I always have in my pantry. It always adds a subtle flavor but can pack a punch when needed to. It’s a flavoring agent used to flavor delicate goods with a light flavor profile, or to enhance another flavor.
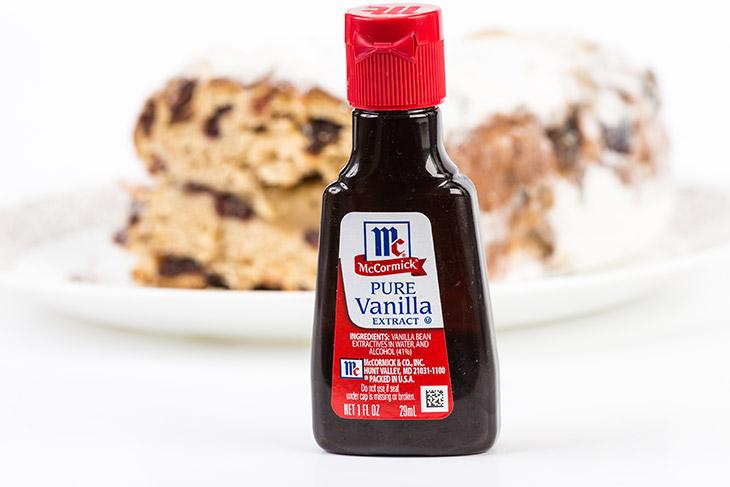
The vanilla extract adds a subtle vanilla flavor to these wafers. It also adds a delicate smell of vanilla. You can use another flavor if you’d like.
You can even make your homemade vanilla extract, which is what I recommend doing. It’s very easy, and you end up with a lot more than if you had bought it from a store.
All-Purpose Flour
Flour is the important part if it all. Well, I shouldn’t say that. All the ingredients are important, but Flour provides the structure. Depending on the type of dough you use, the protein content of the flour will affect the strength of the dough.
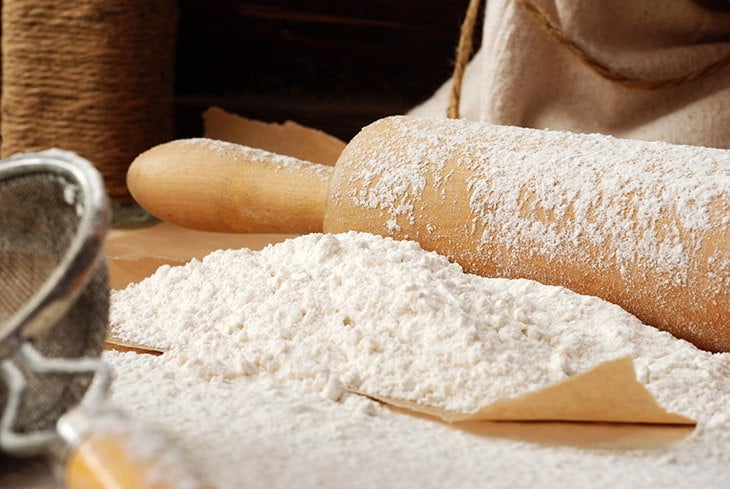
Flour in this recipe is all-purpose, creating a less dense baked good. It will provide a crisp, airy texture to the wafer.
Baking Powder
Baking powder is a leavening agent that makes your baked goods rise. The air that is incorporated in the creaming method activates the leavening agent and makes the bubbles larger, thus making the dough or batter rise.
The baking powder in the wafers creates multiple mini-layers in the wafers. It helps the bubbles to grow to create a type of middle between the wafer crusts on each side of the wafer.
Milk
The protein in the milk help makes the dough strong enough to withstand the baking processes. Milk has sugar and fat in it which help to tenderize and moisten the dough as well as add flavor.
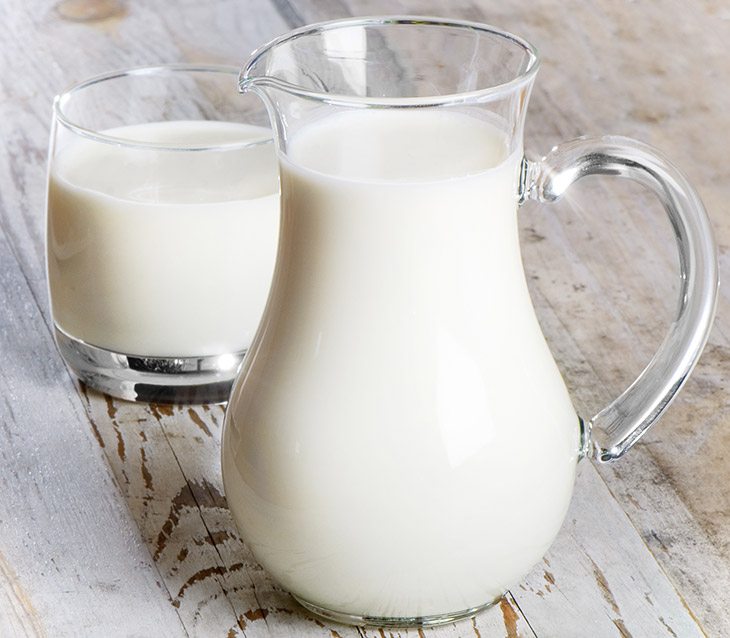
The milk in the wafer provides for a crisp and tender dough that can handle the force of baking. These delicate wafers get a strong dough that bakes up fragile.
If you need to substitute a vegan option for the milk, try getting a product that is high in fat and sugar content. This will ensure the wafer dough comes out properly.
After gathering all these ingredients, make sure you wear an apron and ready your oven mitts because it’s about to get hot! You don’t want to burn your hands!
How to Make the Wafer Sheets
Here are the 5 steps you need to follow to produce fresh, bakery style wafer sheets in your home. Make them in batches and store them for later!
1. Mix it Up
The first step is to cream 1 cup of butter and 1 ½ cups of sugar together. Make sure they are thoroughly creamed before you add in 2 eggs and 3 teaspoons of vanilla. Mix completely.
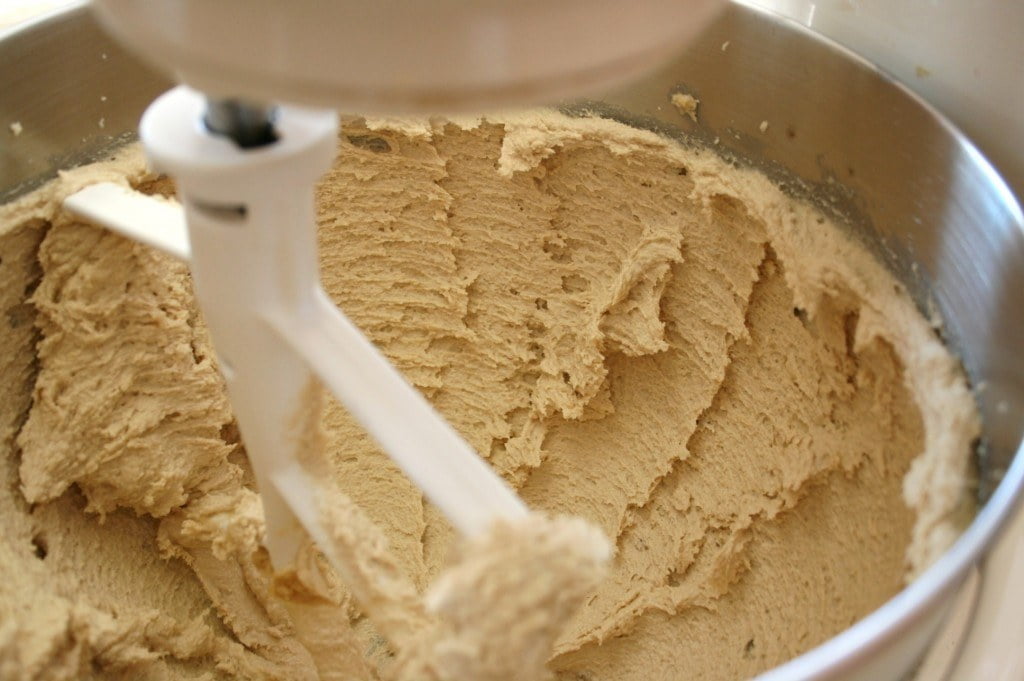
Via lawsofbaking.com
In another mixing bowl, sift together 3 cups of all-purpose flour and 2 teaspoons of baking powder. Add to the creamed mixture in 3 batches, mixing well after each batch. Stir in the milk at this point. Make sure to thoroughly incorporate it into the dough.
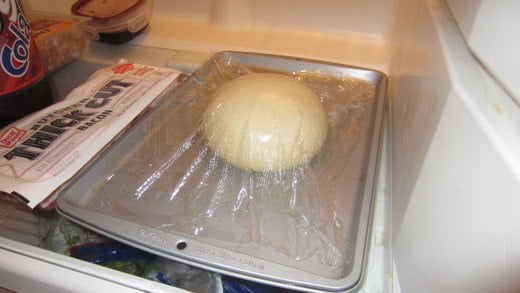
2. Taking the Time
Places the dough in the refrigerator and chill it for a minimum of 4 hours. This part takes the most time. It can be done in advance and left to sit overnight.You want the dough to be cold and solid, so it is easy to work it.
Via wikihow.com
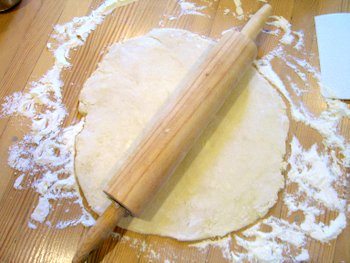
3. Rolling the Dough
Lightly flour your counter-top. You can use a baking mat to make cleaning up easy. Place the dough on the floured surface and roll out (I find it to be easier if I also flour the rolling pin) the dough. This will take some effort and time to do since the dough is cold and tough at this point.
Via bakingbites.com
As the dough begins to flatten, work it to a very thin, almost paper thin, height (about 1/8 to ¼ of an inch). The thinner the better, but you don’t want the dough to rip, tear, or become see-through. If the dough is any of these, it is too thin, and you will need to thicken the areas.
When the dough is the desired thickness, cut into small wafer sized rectangles, cut with cookie cutters, or make your shapes or designs from the dough and place on a lightly greased cookie sheet.
4. Baking in the Oven
Preheat the oven to 400˚F. While the oven preheats, stick the cookie sheet into the refrigerator and chill the leftover dough (if any) until you are ready to use it again.
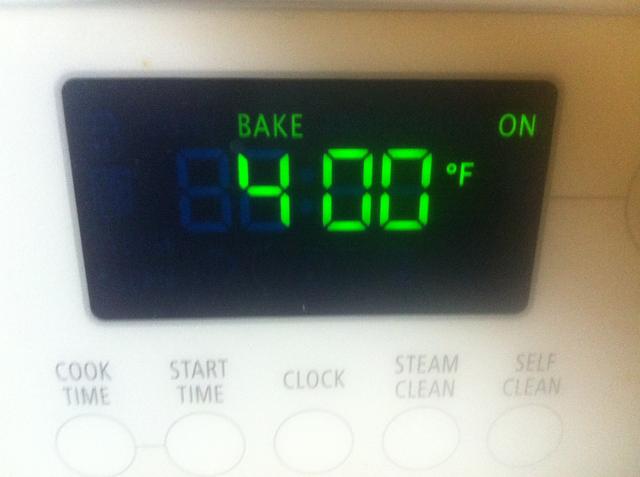
Bake in the oven for 6 to 8 minutes, until golden brown. Remove from the oven and allow to cool.
Remove from cookie sheet and place on a cooling rack. Allow cookies to cool completely.
5. Serving
Your wafer sheets (or rectangles or circles) are ready now! You can make fabulous desserts, serve broken up with ice cream, or enjoy with a delicious cup of coffee!
You can pattern your wafer sheet using embossed rolling pin.
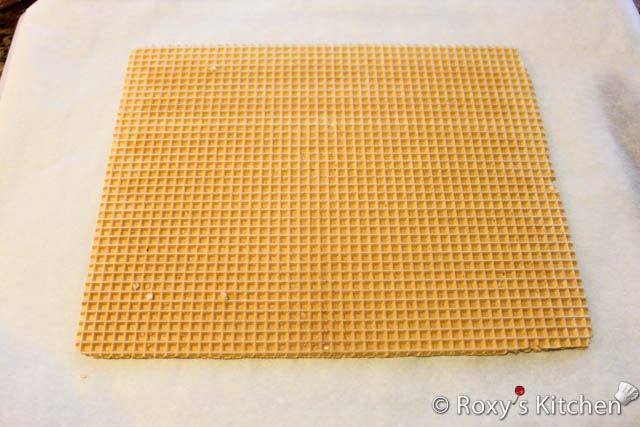
Via roxyskitchen.com
Another serving you can do is sprinkling some sugar on top of your wafer and melting it with a butane torch to give it an elegant crust.
Dishing it Out
Congratulations on making wafer sheets like a professional and turning your kitchen into your very own bakery!How did your wafer sheets turn out? Were they crisp and delicious? What are you going to make with them?
Let me know what recipes you’ve made with wafer sheets and how yours came out! I hope you were able to learn something new with me today! See you next time!