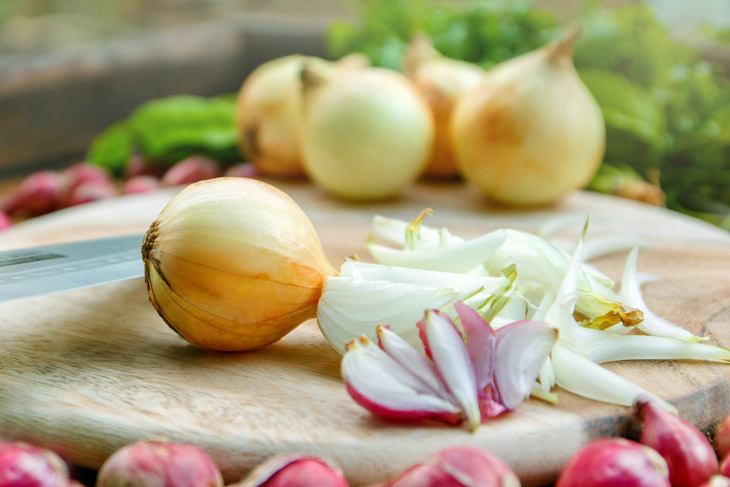
Onion is such an important staple ingredient in the kitchen. A kitchen would not be complete without it! The thing is, they don’t last long when they are not properly cured and dried. I bet, if you have them in your garden, you want to know how to dry onions.
The process of drying onion is not a one-step task. It takes some days to finally get it ready for storage. But when you have done this properly, it could last you up to three months in the pantry and half a year in the freezer!
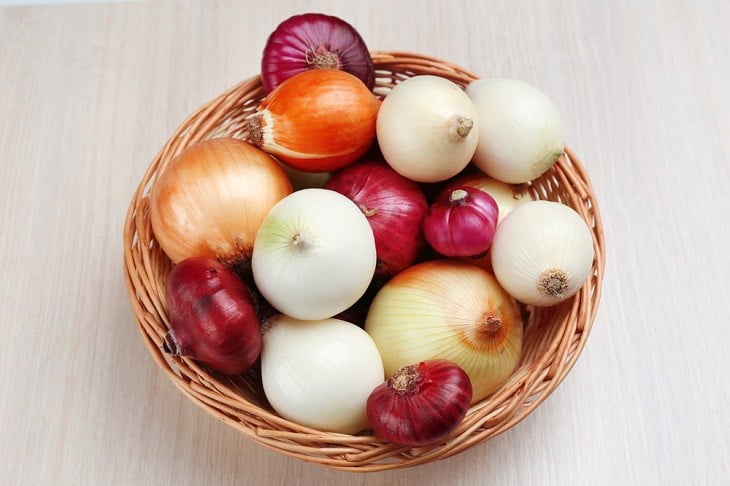
A Must In Any Kitchen
Onions are believed to have been consumed even before the first humans became literate. Historians and food experts agree that our ancestors have long eaten and cultivated onions as a food source.
I am pretty sure that our ancestors fell in love the awesome flavor of onions and used them to bring life to their prehistoric menu! Well, we can’t blame them because onion is a very popular ingredient today. Simply caramelizing onion and adding it to your meal adds a tasty zing!
Caramelized onion is great for sandwiches. Mincing it and mixing it into your salad gives it a nice zing. Coating onions with seasoned flour and frying it until golden brown gives your fish a perfect pair. If you can’t get enough of it, why not dunk your onion rings on an onion dip?
Roasted onions can be a great companion of your perfectly cooked steak. Soups and stews are tastier when you have some onions on it!The culinary value of onion is outstanding! Can you imagine how dull our dishes can be without onions?!
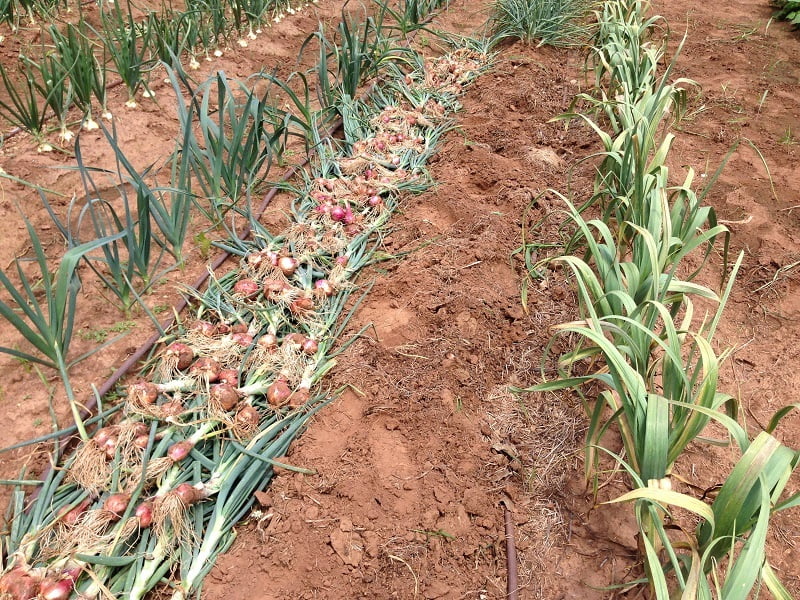
From the Garden to the Pantry
Now, before storing your newly harvested onions, you want to make sure that you cure and dry them properly. This will make sure your onions will last for a few months before having another batch.
Strong flavored pungent onions last longer when stored compared to the milder ones. The sulfurous compound it has that causes you to tear up is the same compound that keeps them fresh longer.
Onions strongly disagree to moisture and humidity. Too much of it shortens the life of onions. Well, aerated spaces are preferred to avoid degradation of quality. No special container is required. An old cardboard box punched with holes will suffice.
Things You Will Need
The process of drying your onion does not require special tools. The following is enough to prepare your onions when curing and drying them.
- Knife or kitchen shears (for cutting stems and roots)
- Oven
- Baking tray
- Jar
- Tarp (if you don’t have a paved flooring to spread your onions)
- Mesh bags or box punched with holes (for storage)
- Baking sheet
- Electric Dehydrator
Four Ways to Dry Onion
#1 On the Ground
1. Trim the roots and leave about an inch and avoid damaging the bulb. Do not cut the stem as this opens the onions top and introduces bacteria.
2. Spread your onions on pavement. Spread them evenly, making sure that every onion is exposed in the air. Make sure it is not directly exposed to sunlight as this may affect the taste of your onion. You may end up with a bitter tasting onion.
The warmer and breezier it is, the quicker your onions will lose moisture.If you don’t have a paved flooring to dry your onions, lay a tarp before spreading your onions.
3. To make sure they are losing moisture rather than absorbing moisture, store them in your shed on sundown. Use mesh bags so that the onions will not trap moisture.
4. You will notice that the skin of the onion dries off and tightens up to the stem. Continue drying your onions for about two weeks until the neck is tight and almost closed.
5. Store in a cool, dry and dark place.
#2 Braiding and Hanging
1. Clean your onion and remove as much dirt as you can and trim off the roots. Again, do not wash your onion as this may encourage the growth of bacteria and degrade your onions quickly. Leave about six inches of the stem so that you can intertwine them properly.
2. Starting from the bottom, start with three stems and braid them together as you would braid a hair.
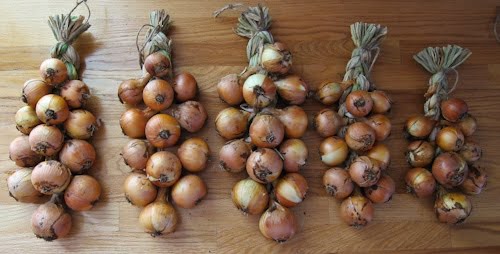
3. Add three onions at a time tracing the stems of the previous onions and following through.
4. Continue adding and tracing the stems until you reach about a foot of braided onion.
5. Form a knot at the end. Do not pull too hard as fresh stems can be easily torn. As they dry, they will be harder and sturdy.
6. Finish off all your remaining onions and hang them on a roofed, well aerated warm, open space, preferably just outside your kitchen.
7. Use as needed starting from the bottom so that you will not ruin the braid.
#3 Drying Onions in Your Oven
1. Pre-heat your oven to 140 degrees Fahrenheit. This temperature is just enough to evaporate the remaining moisture on your onions without roasting it. Higher than that and you will get roasted onions.
2. Line your baking tray with baking sheets.
3. Cut the tops and bottoms of the onion and peel them.
4. Slice them however you want them. However, I highly suggest cutting them to strips as they are more appealing when used as toppings. You can also mince them if you like. Minced onions have smaller bits and dry faster.
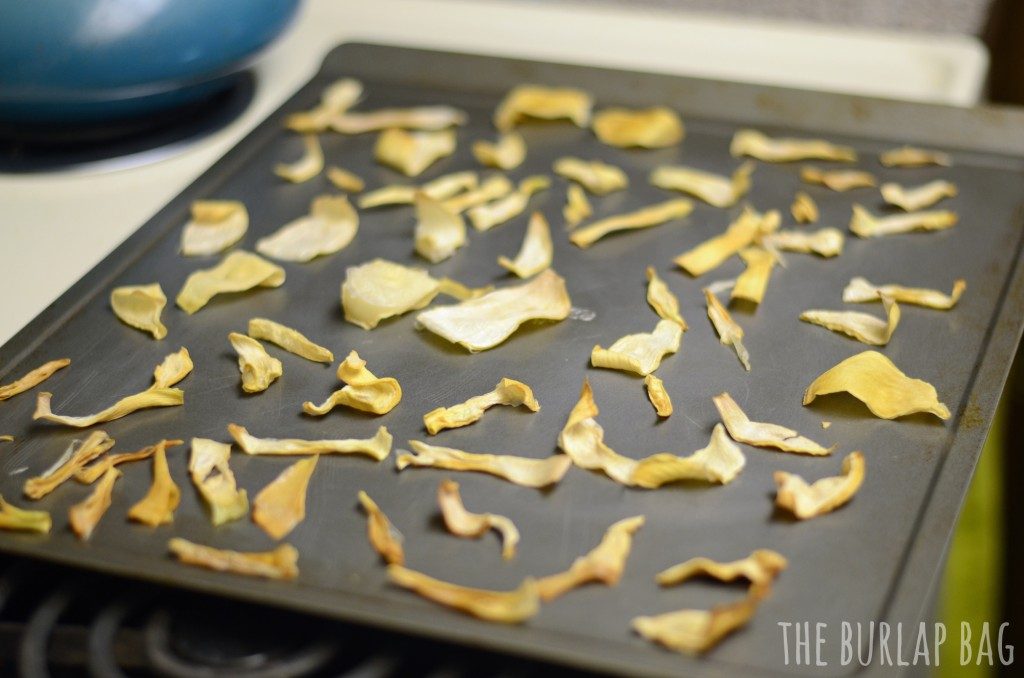
Via theburlapbag.com
5. Lay your onion on your line baking tray and stick it in the oven.
6. Leave the oven door slightly a jar to make sure that your oven is not getting too hot and not cooking your onions.
7. Every half hour or so, take out your tray and give it a toss to evenly dry them.
8. They are done drying when they are leathery to touch.
9. Cool and store on a jar. Make sure you cool them to room temperature before storing them to avoid attracting moisture inside the jar.
- Pro-tip: Place a desiccant inside the jar to make sure that your jar will be free of moisture and will make your dried onions last longer.
#4 Using Electronic Dehydrator
1. Cut and peel the tops and bottom of the onion and slice them accordingly.
2. Set the temperature at 140 degrees Fahrenheit and place the onions inside.

3. Run for 12 hours or as indicated on the manual of your dehydrator.
4. A few hours after the indicated dehydrating time, check every half hour or so and see if your onions have reached your desired dryness.
5. Cool down to room temperature before transferring to a jar.
Using Dried Onions
When properly dried and stored, they can last up to a year! But I bet, it won’t take that long before you get to consume your batch!Use them on sandwiches or as toppings.
You can also soak them in water to rehydrate them and used in your cooking.You can also pulverize them in a food processor to yield onion powder! Nothing beats the goodness of your homemade onion powder!
Final Words
Onion is a mainstay ingredient in the kitchen. Many dishes employ the use of onion as a base! Soups are tastier with onion. Roasted and grilled onions are great sides for your grilled dishes! But, do you know how to dry onions if you harvest your own?
Harvesting your own and drying them is quite more satisfying than just buying them from the grocery. But, it takes some effort to cure and dry them for longer shelf life.
Drying whole onions can be easy but, it takes a few days to weeks before becoming storage worthy. Dehydrated onions can be easily bought in the store. However, making your own can be a lot tastier than buying processed dehydrated onions in a jar!
I hope you have learned the basics of curing and drying your onions at home. Share this to your friends so that they, too, can learn how to make their dried onions! Leave a comment, and I’ll get in touch!