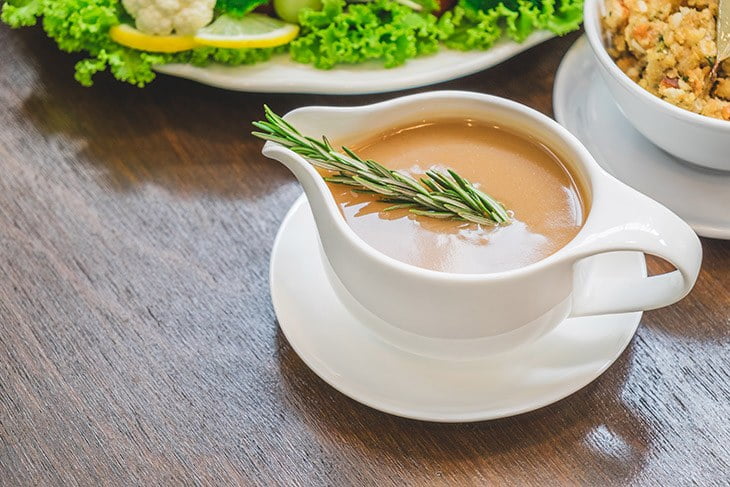
Gravy is one of the best sauces there are. It is perfect for steaks, burgers, and almost all of our favorite meat dishes. When you think of gravy, you would think of a thick, delicious and flavorful sauce. But what can you do when the gravy you made turned out watery?
As we all know, no one wants to have a taste of a watery gravy. Lucky for you, there are plenty of ways on how to make gravy thicker. What are these ways? What are the ingredients that you need to bring back your gravy to its former glory? Well, these are the things that we will be talking about in this article. So, if you are ready, let’s get started!
What you Do?
The truth is, there is more than one way on how to thicken the gravy. In fact, I will be sharing four easy ways on how to make the gravy thicker to you in this article.
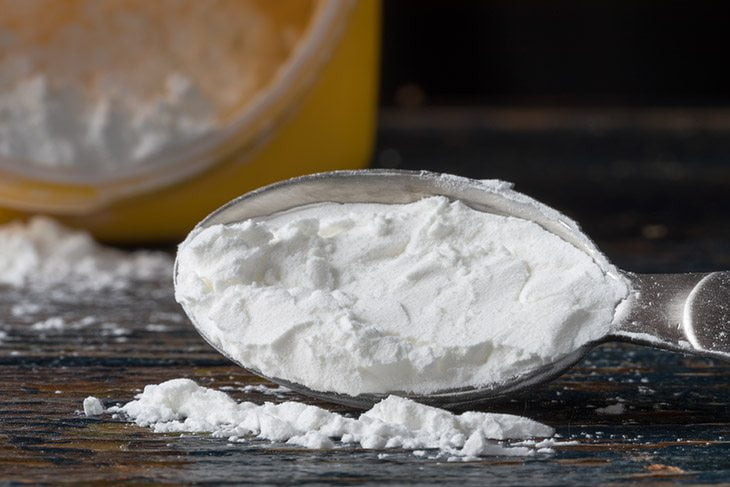
#1: Thickening Gravy with Flour or Cornstarch
Using flour or cornstarch is the easiest of them all. For sure, you already have flour in your kitchen. After all, isn’t that the ingredient you used in making your gravy? However, the downside of this process is that flour tends to make lumps which may affect the final result.
For the first technique, you will need the following:
- 2 tablespoons of flour
- ¼ cup of cold water
Step by Step Instructions
#2: Thickening Gravy with Roux
For those who are not aware of what a roux is, it is a thick of butter and flour. Using this technique may be a bit time- consuming, but at least, no lumps will be formed with this process.
This second technique is more time consuming than the first technique, but it minimizes the risk of lump formation.
For the second technique, here are the ingredients you will need:
- One part butter
- One part cornstarch
Step by Step Instructions
#3: Thickening Gravy with Arrowroot Powder
Arrow root is a great alternative for flour because it is also a type of starch, but it is extracted from the rhizomes of tropical fruit.
![]()
Via squarespace.com
This option is recommended if you are dealing with a lighter colored gravy because the arrow root (when exposed to heat) becomes clear and therefore, it will not affect the color of your gravy.
Ingredients you will need for this technique:
- 1 to 3 cups of potato flakes
Step by Step Instructions
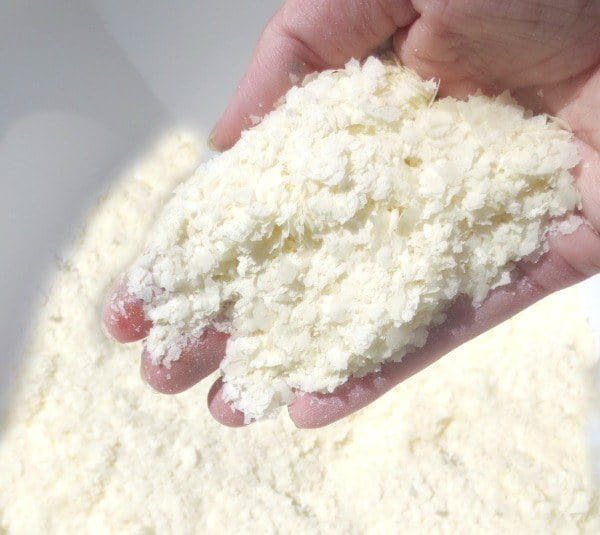
#4: Thickening Gravy With Potato Flakes
Potato flakes have a particular texture that makes it perfect for thickening beef gravy and other country-style sauces.
Ingredients you will need for this same like 3rd technique:
- 1 to 3 cups of potato flakes
Step by Step Instructions
Conclusion
Have you enjoyed our short tutorial? I hope that you did.
The truth is, I enjoyed sharing this simple guide on how to make the gravy thicker with you. I know that thin and watery gravy is a big no-no. After all, it will water down the taste of your favorite dishes instead of improving it.
I have shared a few techniques above, and I also gave you a bit of information as to when and for what type of gravy you should use each method. Just follow the steps to a tee and rest assured; you will achieve the thick and delicious gravy that is perfect for your dish!
If you have some questions, please leave a comment below. If you have found this article useful, please share them with your friends and help them enjoy their dishes with the most delicious and thickest gravy they can get their hands on!